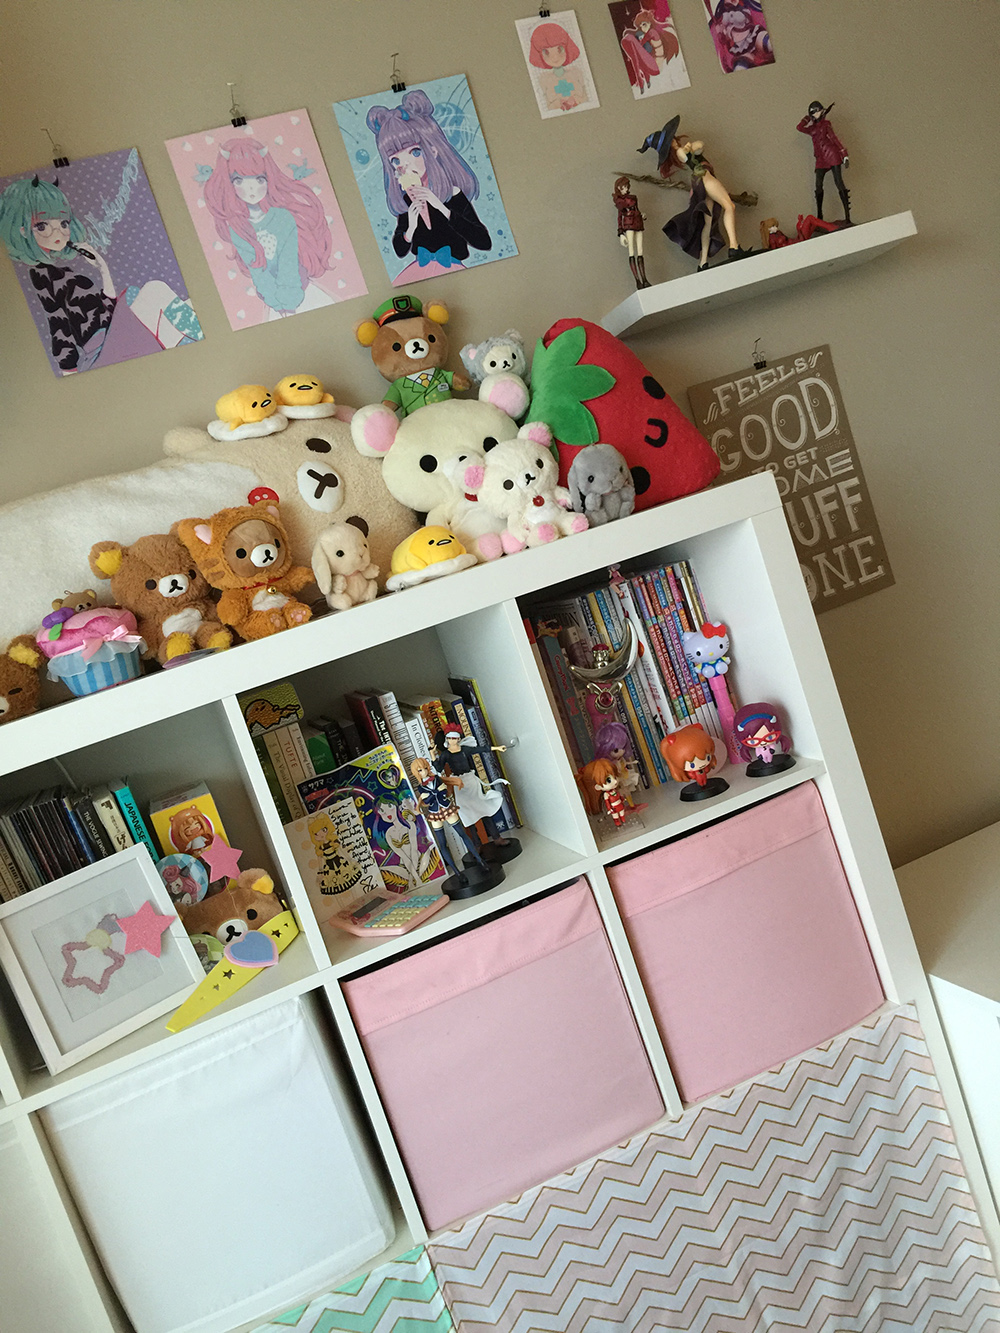
If you’re a 20- or 30-something it’s probably safe to say you own an Ikea Kallax or Expedit storage unit or two. My boyfriend and I have about 3 of them in our apartment, although technically they are the Expedit units (they’re pretty much the same, right?). We bought them all different times and bought different styles and amounts of storage cubes to go in them. The last one I bought was my largest one, the 4×4 size. Somehow most of the cube storage ended up in that one so I had a bit of a hodgepodge of styles and colors in it. This was the state it is was in a little less than a year ago, and I decided to set out on a mission to make it look nicer!

My initial ideas were to just get more stuff from Ikea to fix up my storage unit. Maybe get more of the light pink boxes? That was a fine idea until I realized I wanted to store things that wouldn’t fit nicely in them, like my sewing machines. Also you’ll notice we keep our internet router in one of the squares so I wanted a way to conceal that as well. After ruling out more storage cubes I started looking into the cabinet doors Ikea sells. I thought they looked nice but it was going to be a bit pricy to get as many as I wanted and I wasn’t looking forward to installing them all. I’m staring at a lopsided cabinet door on another piece of Ikea furniture as I write this.
I finally got inspired and came up with the perfect solution for me after a trip to Daiso. They sell tiny curtain rods and curtains that are meant to cover shelving like this. I didn’t want an individual curtain for each box though, so I decided to do two big “curtains” using velcro tape. I bought a couple yards of some cute Michael Miller fabric
to make the curtains out of.

I decided to do 2 curtains that would each cover a 2×2 section of the Expedit. I measured the Expedit and then added 2″ to the measurement to allow for the hem (that gives you 1″ all the way around). I used that measurement to cut out my fabric and then I did a simple folded hem all the way around it. I iron it as I fold it and then pin it so it stays in place until I sew it down.
After I had my fabric square hemmed on all sides, I pulled out the strip velcro (still stuck together) and held it up to the edge of the fabric that I wanted to apply it to. Then I cut the velcro and pulled off the sticky tape on one side and stuck it onto the fabric. I decided to go with the softer side on the fabric and the rougher side on the bookshelf. At this point you’ll have both sides of the velcro stuck to the fabric, and you’re ready to stick it to the Expedit as soon as you remove the paper backing on the other side. As you can see in my image above, the velcro was just slightly bigger than the divider between sections. I aligned it with the top edge so the overage would be hidden and slowly pressed it down going from one end to the other.

I didn’t think about doing a tutorial when I was working on this so I’m sorry I don’t have more visuals. I think it’s a pretty simple process if you have at least a little bit of sewing experience so hopefully this post has been helpful. If you have any questions on my process feel free to leave a comment!
And last but not least, here’s a recent outfit picture of mine where you can see the finished product (and the evolution of my cute wall!)


